My sincerest apologies! Last week I was without my camera and was unable to make my Friday post! So the lovely Erin posted in my place with her watermelon ice recipe. I hope you all voted!
This week I bring you eggplant. That wonderful dark purple veggie that is either large or small and sometimes looks like a purple and white zebra haha. But like most people, we are tempted to try this delicious looking oddity, but are unable to think of anything to do with it. Most recipes are long and difficult and make the eggplant come out tough and chewy and very unpleasant! I bring you today a very simple yet tasty eggplant parmesan.
I found this recipe in The Vegetarian Times, but I changed it up a bit to make it to my liking.
this recipe is for one to two servings
1/2c spaghetti sauce, divided
1/4c (or more) Panko Bread Crumbs
1tsp italian seasoning blend
3tsp parmasan cheese (not the kind in the green can...YUCK)
1 1/2tsp canola oil (I used Olive Oil and just coated the bottom of the pan, though I had to do this a lot as the oil dried up to keep the pan from burning)
1-2 Japanese (or any small) eggplant, cut into round slices
1 egg beaten
1/4 low fat mozerella cheese (I used an italian seasoned blend but any of cheese you use to top your lasagna with will work)
2tsp parm. cheese or more. (i like cheese and I am very very generous with it)
1/4 tsp dried basil (I didn't add this but I didn't see it listed and it still turned out just fine.)
op. I added mushrooms to this, but this is totally optional
1. preheat oven to 350F coat a small baking dish with nonstick cooking spray and spread with 2 tbs of the spaghetti sauce.
2. combine bread crumbs, parm cheese, and italian seasoning in a shallow bowl for dredging.
3. Heat oil in the pan.
4. dip the sliced eggplant into the egg then coat well on both sides with breadcrumb mix then immediately place into fry pan. only put a single layer in the pan and cook about 2-3 mins on each side or until they are brown and crispy.
5. Make a single layer on the bottom of the baking dish with the eggplant straight from the pan. top with the mozzeralla cheese (or cheese of your choice) and Parm. top with second layer of eggplant and cheese.
6. pour sauce over all and top with remaining cheese.
7. Bake 15 minutes or until golden brown, the cheese should be good and melted and a fork or knife should easily go through the eggplant.
(I added too much sauce to mine haha)
But it was still VERY tasty :) please enjoy!!
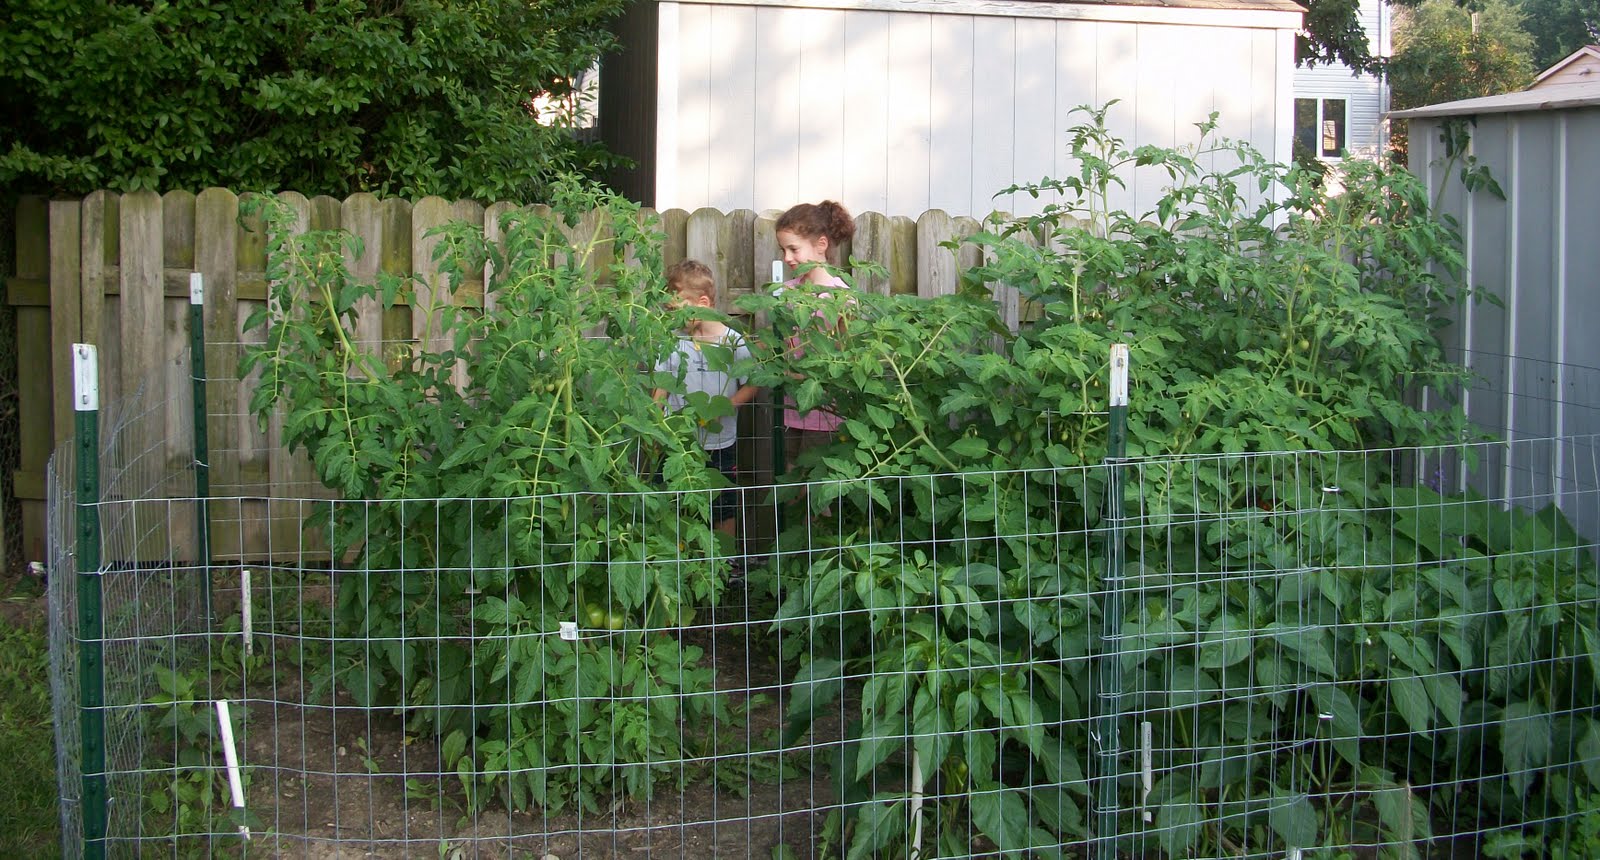
 Wow time sure has flown here. I can't believe that July is gone already. The Fourth of July tomato has been giving us little red tomatoes every day and they are so sweet and delicious. Everything else is getting there. We look at the number of tomatoes on each plant and can't wait to get canning. The kids helped us count the jars, lids and rings this weekend so we knew what to buy more of. Those wide mouth pint jars were so great that those are on the list of 'can't have enough', there are tons of the quart jars just waiting for tomatoes. Life is good.